Extinct and yet alive!
- Jun 14, 2023
- 4 min read
Everyone knows them - cropped product images with a white background, which are absolutely functional and efficient for the mass of articles.
To the head it is enough to get a first impression of the product, but since we are heartily involved in the matter, we want to give exactly these emotions a little fodder.
And that brings us directly to today's topic "Toyphotogarphy" - the slightly different kind of product photography.
I don't have any camera equipment!
We don't even need one, because nowadays pretty much everyone has a small and powerful camera in their pocket in the form of a smartphone - videos and photos - all in one hand.
If you still want to delve a little deeper, you should make sure that the camera at least has a manual mode when you buy it. In addition, a stable tripod and a remote shutter release is always a recommendation for the beginning. As with collectibles, there are almost no upper limits.

Let's go!
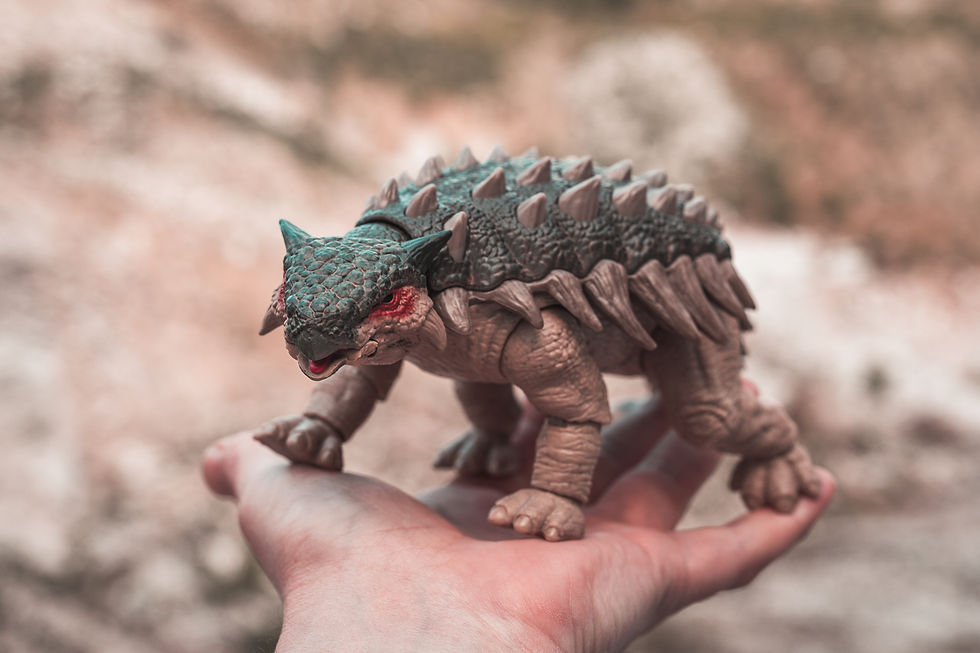
For this article, we grabbed an Ankylosaurus from Mattel's "Hammond Collection" from the studio.
Why a dinosaur? Dinosaurs always go and are a great change from action figures and statues from the well-known franchises. Plus, the little guy looks pretty darn good!
The choice of location always depends a little on personal preferences - since the weather is just great and movement is good, it went for the shooting times outside.
A former quarry was the chosen location, which, in addition to a perfect prehistoric backdrop, also brought with it a certain calm. Because there's one thing you definitely have to get used to as soon as you're out in public armed with a toy and a camera - the curious and confused looks of passers-by. Ideally, however, you also get to know new people this way, who are even collectors themselves.
So a suitable place searched and equipment built up. And at this point there are two recommendations that make the shooting easier:
- Play in advance, if possible, with the figure! This way you get a feeling for posing and see what possibilities the figure offers you. By the way, this is also a great relaxation exercise
- As we'll see later, we're going a bit further with the practical effects, which is why it's worth taking normal pictures of the figure first. That way you get into the flow of work and have clean images.
A low camera point makes our Ankylosaurus look bigger and more realistic and since we are using a tripod, we can easily accept a low ISO and slower shutter speeds.
In general, it's recommended not to shoot in the blazing midday sun, as we'll have very harsh shadows and faded colors due to the bright light. Is not so bad with a dinosaur, but looks quite terrible with a colorful anime character.
If you can't completely influence the time of the shooting, then you should at least make sure that the light source (sun) doesn't shine frontally on the object. It is best to place it from the side or diagonally above the figure - this makes details, such as the spines on the dinosaur, even more visible.
For a harmonious composition of the picture, you can orientate yourself very well on the "rule of thirds" and/or make sure that the focus is on the eyes.
You can deliberately break all these basic rules later if you know them - in the end, there are no limits to your creativity.

And Action!
Our first pictures are now in the box and now it's time to get some dynamics into the photos.
This can be done easily by posing the figure or by using the existing elements at our photo spot.
Our prehistoric companion is not the most agile, so we grab a little dust and swirl it up at the moment of the shutter release.
Here it is an absolute advantage if you can use a continuous shooting mode with timer or have a companion with you who takes care of the dirt while you release the shutter yourself.
The camera settings depend strongly on the available light - since it was very sunny, 105mm with 6.3 aperture, ISO 800 and a shutter speed around 1/1000 second were sufficient.
The faster the shutter speed, the sharper and more detailed the swirled dust looks, which gives the overall image a certain realism.
It already looks better than our standard product image from the first paragraph, doesn't it?

Off to the shower!
What works well with dust can also be adapted to other elements such as water. The settings are in the same range as for our dust experiments.
But here, too, experimentation is worthwhile:
For example, if we choose a slower shutter speed, we can soften the water and get a mystical effect in the picture. This is especially worthwhile with moving water such as small streams or puddles.
Special care is required, of course, because electronics and water are not the best of friends. And our Ankylosaurus was also slightly dirty after the shoot - so you always have to weigh up whether you want to take the risk, especially in higher price ranges.
Summary
It's worth it to think outside the box and use Toyphotography for your own pleasure or to produce content outside the mainstream.
Every beginning is hard and we would like to provide you with useful tips in the future.
Feel free to send suggestions and feedback to our community manager Patrick:
patrick.pchalek@heo.com
Until next time, when it's "...and action!" again.


Comments